Animation is a critical part of iOS user interface. Using the right animation at the right place will improve user experience. In SwiftUI you can add animations to a view or to view’s state. In this post you will see,
- How to add animation to individual view
- How to add animation effects for state change
- How to add effects through view transition
How to add animations to individual views?
With the help of the animate(_:) modifier you can add animation to a view. A view’s color, opacity, rotation, size and other properties are animatable.
Lets create a button and try animating them on rotation and size change.
Button(action: { self.showGraph.toggle()}) { Image(systemName: "chevron.right.circle") .imageScale(.large) .rotationEffect(.degrees(showGraph ? 90 : 0)) .padding()}Let’s turn animation for buttons rotation by adding, animation(.easeInOut)
Image(systemName: "chevron.right.circle") .imageScale(.large) .rotationEffect(.degrees(showGraph ? 90 : 0)) .padding() .animation(.easeInOut)Add another animatable change by making the button larger when the buttons state value changes.
Image(systemName: "chevron.right.circle") .imageScale(.large) .rotationEffect(.degrees(showGraph ? 90 : 0)) .scaleEffect(showDetail ? 1.5 : 1) .padding() .animation(.easeInOut)
You can turn off animation for specific property by adding the .animation(nil) just below the animatable property.
Image(systemName: "chevron.right.circle") .imageScale(.large) .rotationEffect(.degrees(showGraph ? 90 : 0)) .animation(nil) .scaleEffect(showDetail ? 1.5 : 1) .padding() .animation(.easeInOut)Add animations to state changes
Let’s apply animations when we toggle the “showGraph” state. Here, toggling showGraph state will display a view accordingly. Lets wrap showGraph.toggle() with a call to the withAnimation function.
Button(action: { withAnimation { self.showGraph.toggle() }}) { Image(systemName: "chevron.right.circle") .imageScale(.large) .rotationEffect(.degrees(showGraph ? 90 : 0)) .scaleEffect(showGraph ? 1.5 : 1) .padding()}if showGraph { HikeDetail(hike: hike)}Let’s add two seconds long basic animation in the withAnimation function.
withAnimation(.easeInOut(duration: 4)) { self.showGraph.toggle()}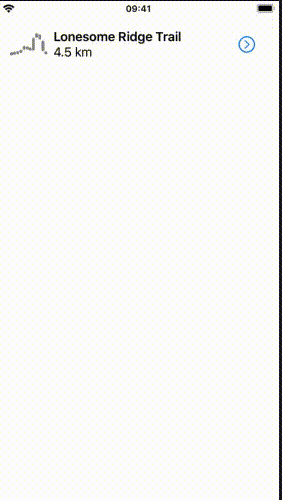
Adding transitions
Lets add on-and-off fading transition by adding transition(_:) modifier to the view,
HikeDetail(hike: hike) .transition(.slide)Now the view will appear and disappear by sliding in and out.
Next up let’s create a transition static property for “AnyTransition”. This keeps our code clean when we expand with transition. We can use the dot notation to use our custom transition.
extension AnyTransition { static var moveAndFade: AnyTransition { AnyTransition.slide }}Let’s add our custom transition moveAndFade with the help of dot notation.
HikeDetail(hike: hike) .transition(.moveAndFade)And now we are going to use move transition so that the view moves in and out from the same edge.
extension AnyTransition { static var moveAndFade: AnyTransition { AnyTransition.move(edge: .trailing) }}![]()
Now that you know how basic animation works,You can tackle some complex animations from here. Hope you enjoyed reading this post. Will meet you with another one soon!
Subscribe to our newsletter
Get the latest updates from our team delivered directly to your inbox.
Related Posts
3 days with iOS - the Android user's perspective
The title is very evident, but it's always difficult to convince an Android fanatic to use iOS on an iPhone. Adding more fuel to the Android vs iOS debate, we got our Mobile Application Developer to test iOS and see how it fares in comparison with Android - and here are his thoughts.
Android O
The new and upgraded Android, Version 8.0 was launched on Monday as the Solar Eclipse was under way and we played around a bit with the new version - and this is what we found.
How we Automate Android App Distribution with Fastlane
Last time we saw how to deploy iOS apps with FastLane, now let us see how to use FastLane to push Android apps to Google Play Store.